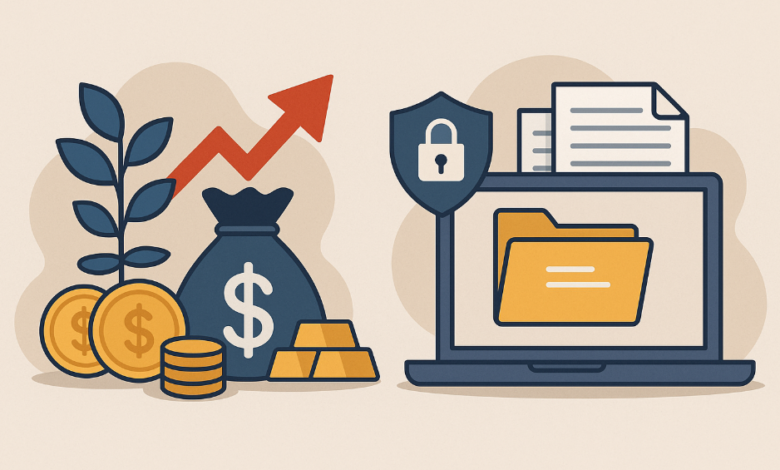
Deal review feels easier when files sit in one secure place. A virtual data room helps teams share records with more control. It can aid buyers, sellers, lawyers, and finance teams during review. Here is a clear step-by-step path for practical use.
Step One: Define the Deal Purpose First
Start with the reason for the room, since every project has a different file path. https://datarooms.fr gives examples of VDR use across M&A, due diligence, audits, finance, real estate, and legal work. A sale process may need tax, HR, contracts, and board files. A fund raise may need cap tables, forecasts, revenue proof, and investor updates.
Set a simple goal before files move into the room. Decide who needs access, which records matter most, and what must stay restricted. This helps with folder order and user rights later. It also reduces extra admin work once the deal starts.
Step Two: Build a Clear Folder Plan
A clean index helps reviewers find records without long email chains. Use plain folder names for finance, legal, tax, HR, property, and contracts. Keep draft files apart from final files. Clear file names may help improve trust during review.
Avoid deep folder layers that hide key records. Most deal teams prefer a simple route from the main folder to the document. A good service provider should explain setup steps, support scope, and export rules without vague terms. That clarity matters when time pressure rises.
See also: tech support from mytecharm
Folder Rules That Save Time
A few rules can keep the space neat from day one. Keep them short, visible, and easy for admins to follow. The aim is control without extra confusion. Use the same file logic across every section.
- Add dates to reports, accounts, and contracts.
- Use final or draft labels where needed.
- Remove duplicate copies before upload.
- Place sensitive files in restricted folders only.
Step Three: Set Access Rights Carefully
Permissions decide who sees each file, folder, or section. Set groups for buyers, investors, lawyers, auditors, and internal teams. Give each group only the access needed for its role. This helps with privacy and may reduce accidental disclosure.
Test access before outside parties enter the room. Log in as a sample user or ask a colleague to check the view. Confirm that downloads, print rights, and watermarks act as expected. Small tests can prevent awkward mistakes during live review.
Step Four: Use Q&A and Reports
A Q&A tool can keep deal questions in one record. Assign each question to the right person, then add a clear answer. This aids faster review and keeps replies away from scattered inboxes. It also gives managers a better view of repeated concerns.
Reports show who viewed files, what drew attention, and which records stayed untouched. That data should guide follow-up. VDR of audit trails, reports, permissions, and Q&A in secure deal work. Use such data as a support tool for cleaner decisions.
Step Five: Close the Room with Care
Project close needs the same control as project launch. Review user access, remove outside parties, and export final reports. Save Q&A logs, access records, and approved file lists. These records may help later if deal terms or review steps face questions.
Archive the room only after internal teams confirm final needs. Check contract terms for storage, export fees, and support after closure. Keep a named owner for final records. This makes the last step orderly and traceable.
A virtual data room works best when the process starts with purpose. A clear folder plan, careful permissions, Q&A control, and activity reports can turn a tense review into a more stable task. The tool should match the deal type, file volume, and privacy level. With a steady process, teams can use the room as a practical base for smarter deal work.


